How the design center actually works (and what to refuse)
Most new-build options at the design center are priced for the builder, not the buyer. Here's how to spend smart and what to refuse outright.
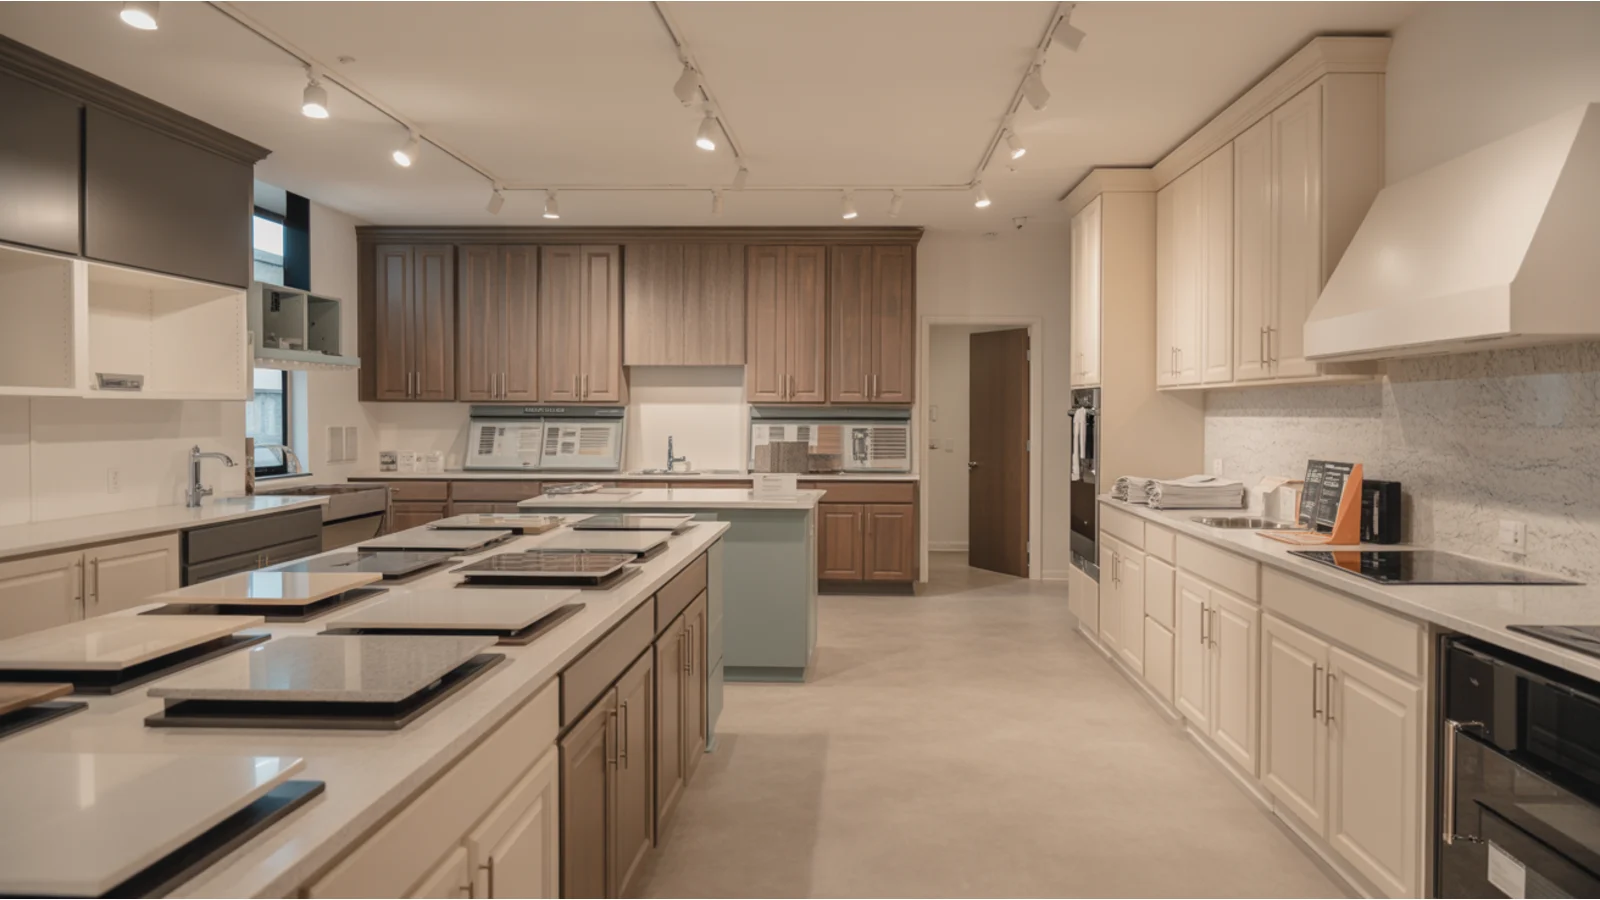
If you're building a new home in Portland metro, you'll spend a day (or three) at the design center. It looks like a kitchen showroom with samples on the walls. It is, mechanically, a sales environment with a 90-minute appointment block, a coordinator, and a list. That list can run from $5,000 in modest upgrades to well over $50,000 if you don't filter what's worth paying for.
Most of those dollars are not equivalent dollars.
How design-center pricing actually works
Builders make a meaningful share of their margin in the design center. The reasons are structural:
- The buyer is already emotionally invested in the home by the time they visit the design center.
- The buyer is sitting with a coordinator who has decision authority on small concessions but no incentive to talk a buyer down on a big-ticket selection.
- Comparison shopping is hard. You can't go price the same exact backsplash at a tile store easily.
- Financing rolls upgrades into the mortgage, which makes a $4,000 upgrade feel like $20 a month.
The result is that many design-center options are priced at multiples of what the equivalent retail-plus-installed cost would be after close. Industry estimates of the markup vary, but it is not unusual for upgrades to be priced at two to four times what an independent contractor would charge for the same work post-close.
Where the design center wins
There are some upgrades where the design center is the better call:
- Pre-wire and rough-in work. Anything inside the walls — Cat6 runs, surround-sound speaker wire, plumbing rough-in for a future utility sink in the garage, a future-pool gas line — is meaningfully cheaper at build time. Retrofit work means opening drywall.
- Cabinet height changes. Going from 36-inch uppers to 42-inch uppers is straightforward at build, expensive after.
- Structural option changes. A bump-out, an extra window, a different elevation. These have to be selected at structural-option deadline, not later.
- Some flooring extensions. Extending hardwood from the living areas into the bedrooms is sometimes a reasonable design-center value, depending on the spread between standard and upgrade.
Where the design center loses
The categories where the design center pricing rarely makes financial sense:
- Appliances. The builder's "upgrade appliance package" is almost always more expensive than buying the same appliances post-close from a local retailer with installation included.
- Light fixtures (most). Replace the builder's basic light fixtures yourself in the first month. A $200 pendant lamp the design center charges $850 for is the same pendant lamp.
- Window treatments. Almost always cheaper post-close from a local provider.
- Backsplash, if you're flexible. The design center backsplash is convenient. A contractor doing a backsplash install for the same tile is often less than half the price.
- Closet organization systems. Same dynamic — better through a closet specialist post-close.
- Most "interior package" bundles. When the design center offers a bundle (paint colors, trim, doors as a single package), the math usually doesn't favor it.
- The appliance package's microwave-over-the-range setup if you actually wanted a hood vent. Just take the standard and replace it.
The appraisal angle
There's a less-obvious cost to over-upgrading at the design center: appraisers tend to value heavy-upgrade homes conservatively against the neighborhood comparables. If you put $60,000 into design-center upgrades on a $700,000 base price home in a community where comps run $720,000, the appraisal may not come in where you'd expect. Builder-affiliated lenders won't always flag this in advance.
This isn't a reason to avoid upgrades entirely. It's a reason to limit them to upgrades that genuinely improve the home's marketability later — quality flooring throughout, real countertop material, a fireplace if there isn't one — versus upgrades that only improve your day-to-day enjoyment.
A practical sequence for the design-center appointment
- Pre-appointment: Walk a finished home in the community to see what the base spec actually looks like. Decide in advance what your hard "yes" upgrades are (the pre-wires, structural changes, the things that are hard to do post-close).
- In the appointment: Take notes on what's being offered and at what price. Don't make final decisions on cosmetic items at the appointment. Tell the coordinator you want to think about a category.
- After the appointment: Compare design-center prices to retail-plus-install for the cosmetic items you're considering. Decide what to add back at the design center and what to handle post-close.
- Second appointment if needed: Most builders allow a follow-up to confirm selections within a few days. Use it.
- Final write-up: Get the full upgrade list, with prices, in writing before signing.
The buyers who come out best from the design center are the ones who say no to most things and then handle the cosmetic stuff themselves over the first six months. The home looks just as good, costs much less, and they don't end up with appraisal exposure.
Tour with Kaz
Get registered before your first visit so your representation is preserved.
Request a community tour